MarCom On-Demand
Faculty and Staff: To request access to MarCom On-Demand, please submit the Request a MarCom On-Demand License Form.
Table of Contents:
Logging In
Visit https://wit.edu/ondemand to access the login page. Choose the “log in” button on the top-right side of the screen. Enter your email address and then password to enter.
Navigating
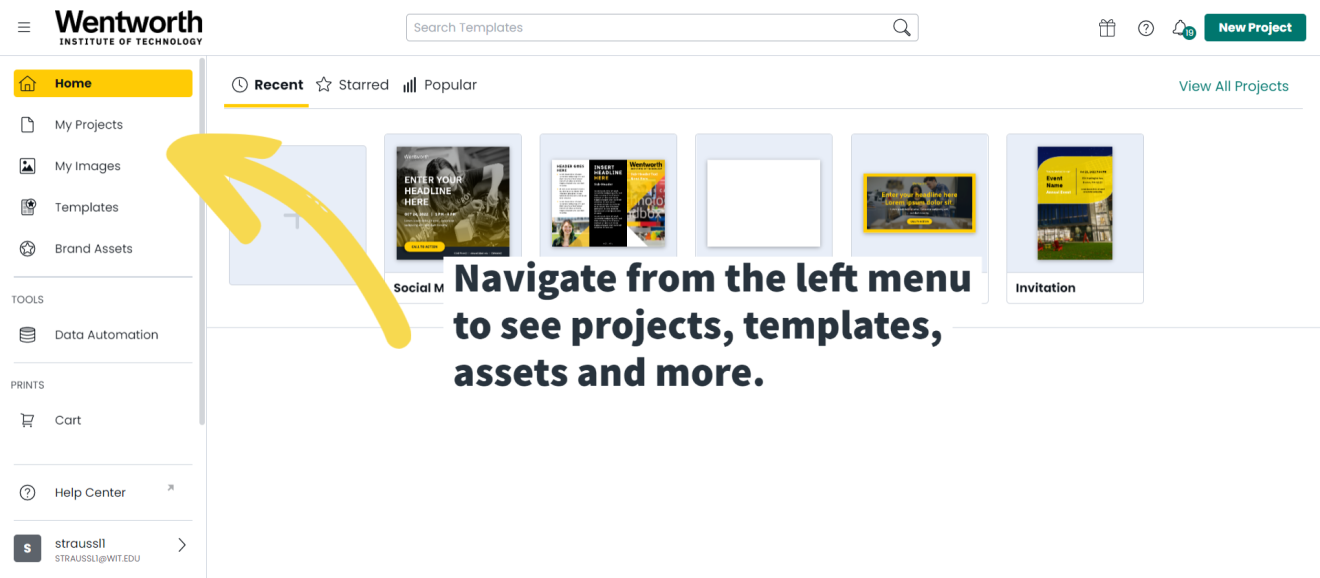
All navigation is from the left menu.
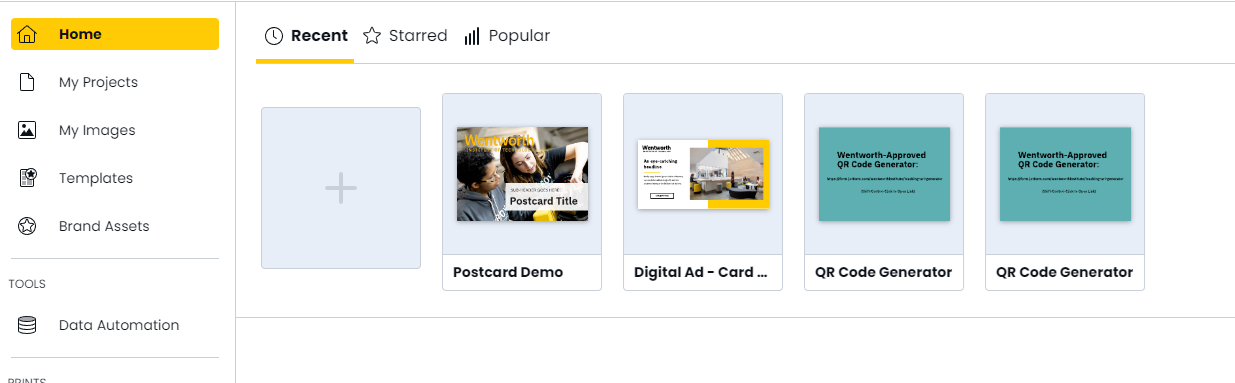
Home
Quick access to projects that you have created or viewed. You can sort by “recent”, “starred”, or “popular." Select a project and click “Open” or click the three dots on the top-right to see more options, such as sharing, renaming, etc.
What’s New
New users will see a column on the right side of the page, labeled “what’s new”. This is a great area to browse:
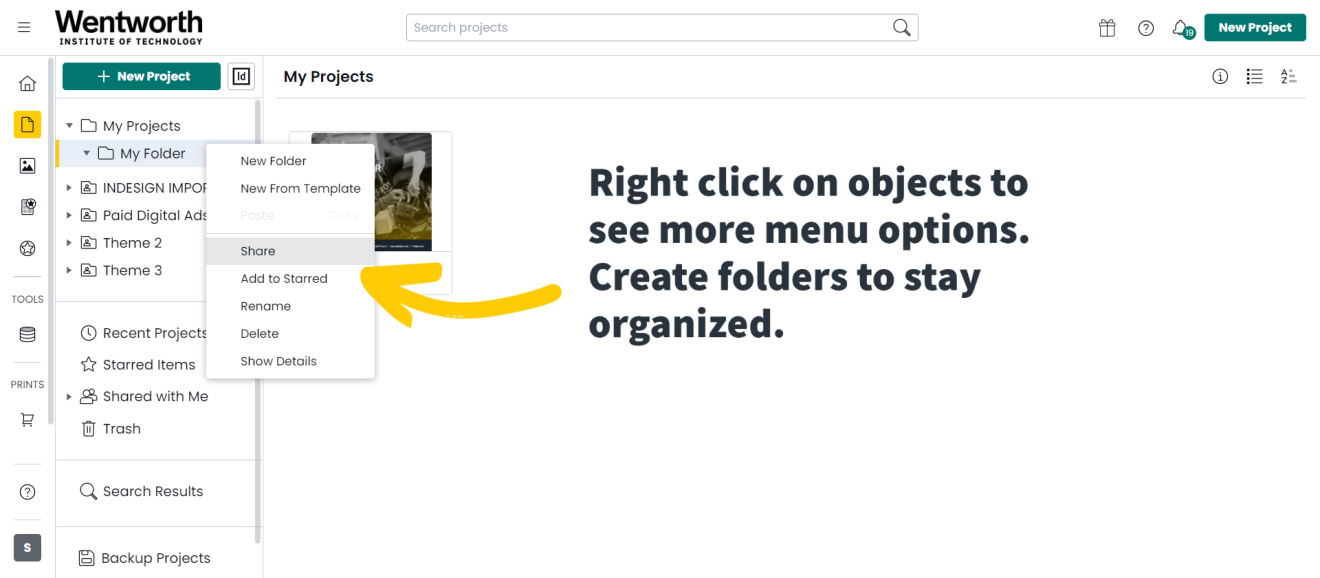
My Projects
My Projects contains all the projects that you created or have access to in your account. It's possible to create a new custom project in this section. Stay organized by creating folders to sort your work by right-clicking folders on the options on the right. Hovering your cursor over each project reveals many more options.
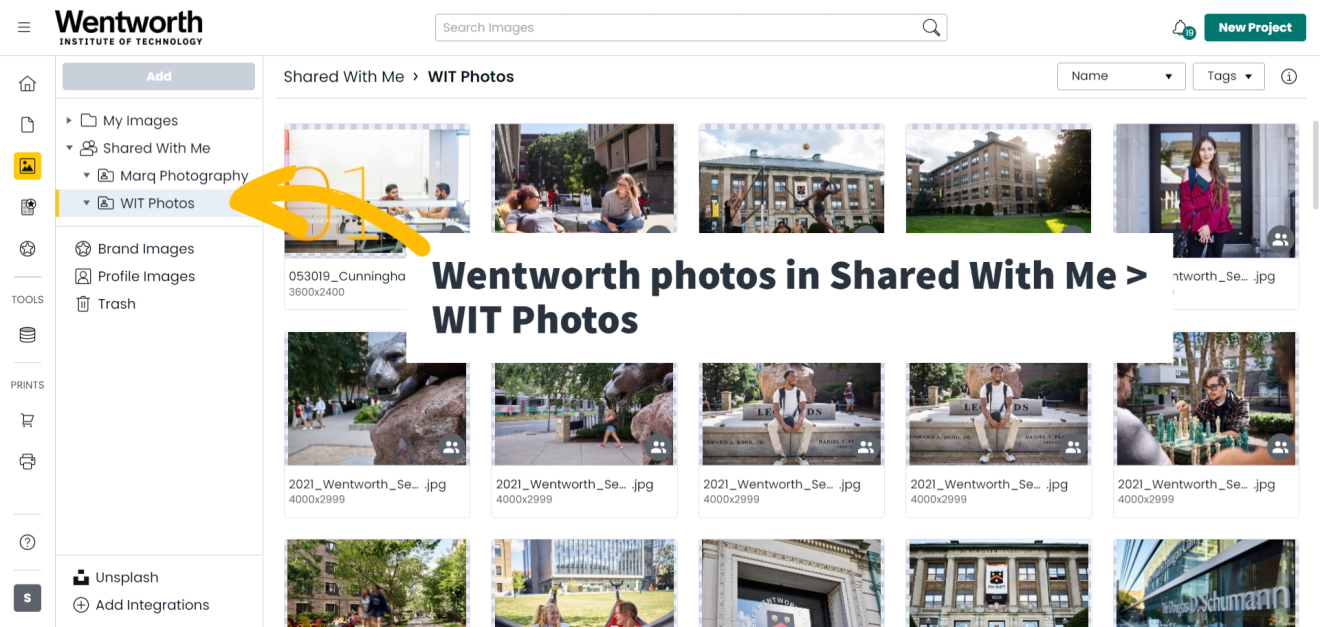
My Images
All images that have been uploaded by you or shared by your team will appear here. There’s also a “brand images” section with official logos and other Wentworth collateral.
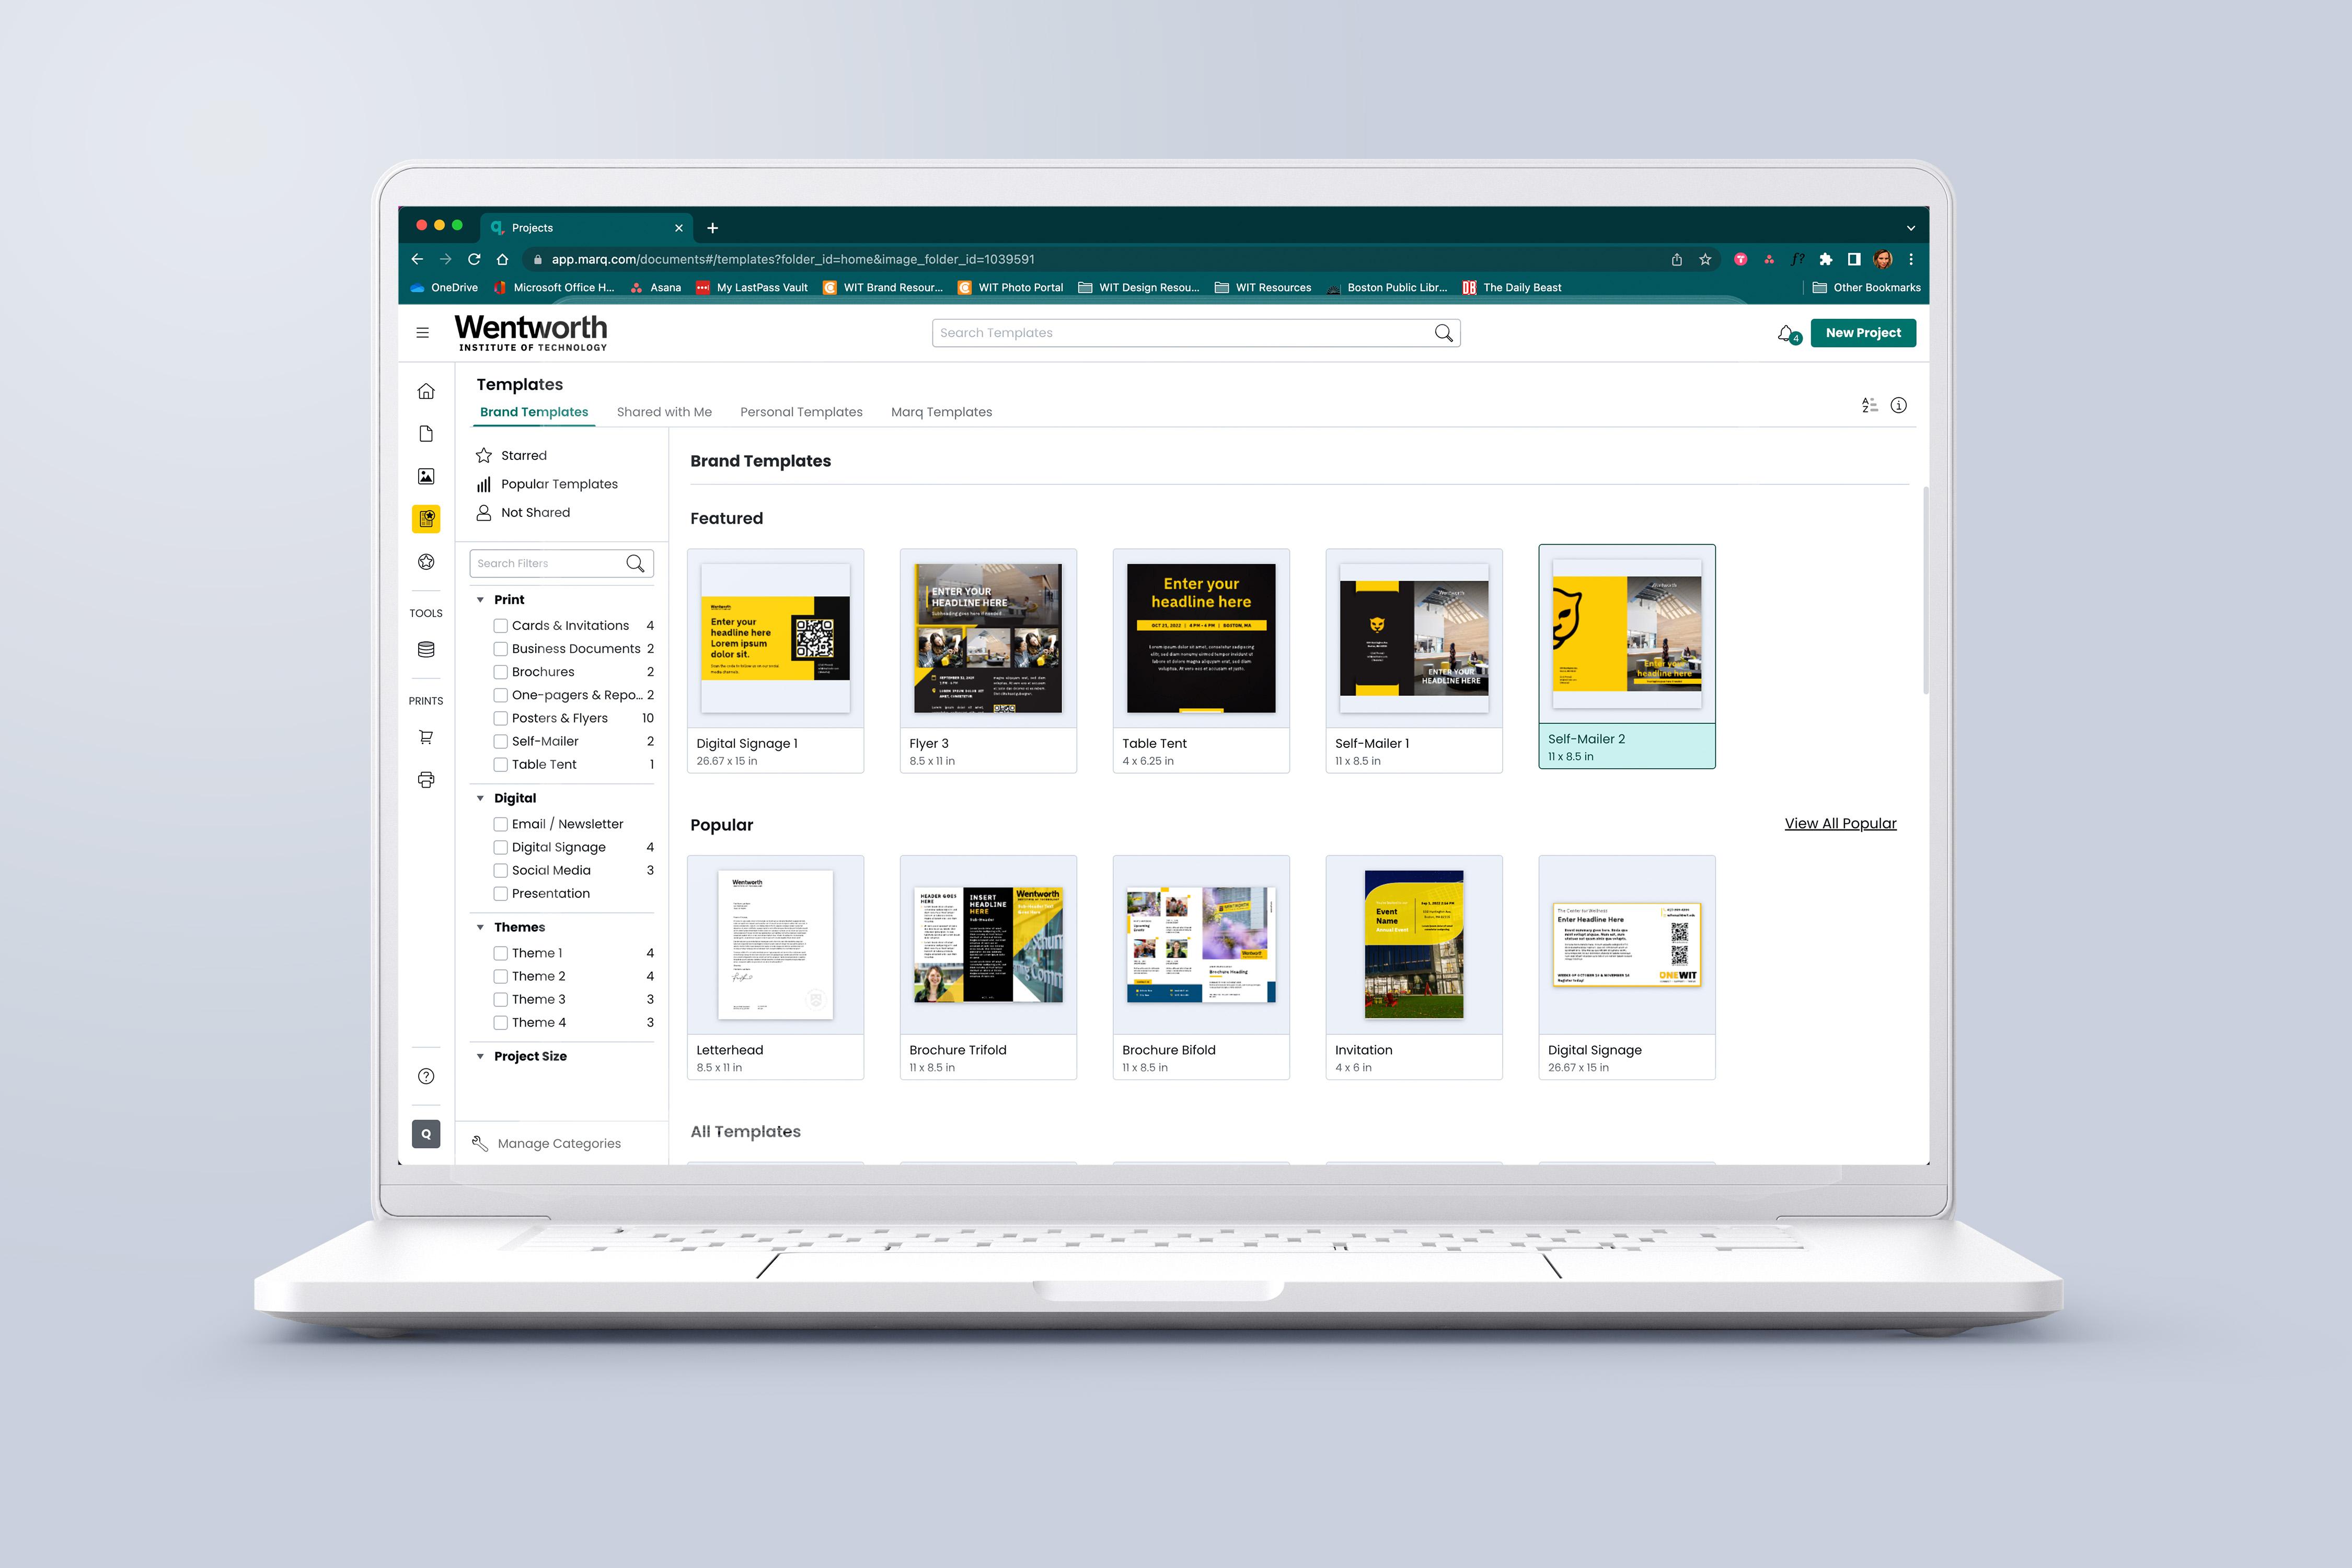
Templates
Wentworth-approved templates are in Templates > Brand Templates. Clicking a template brings up a dialog box and clicking “use template” will copy the template and let you customize your design.
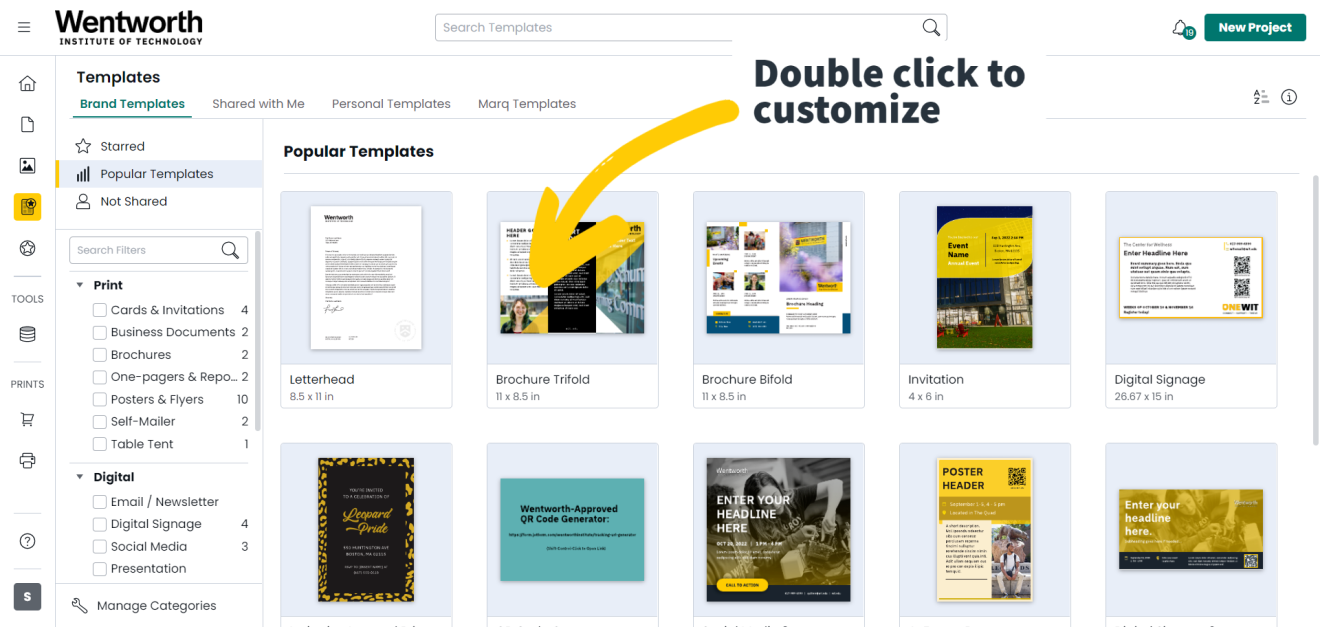
“Marq Templates” are templates you can copy and edit using our brand fonts and colors just as you would in Canva.
For more information about our brand, visit our branding guidelines page.
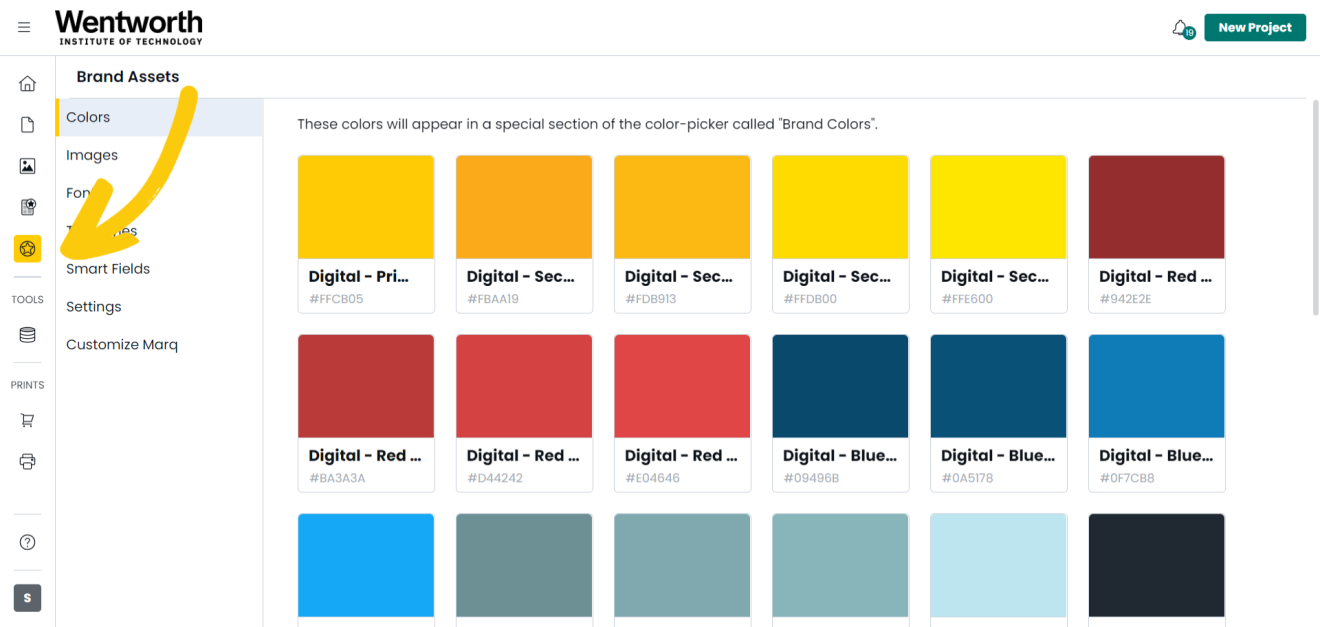
Brand Assets
Brand assets contains an archive of different brand colors, images, and fonts. These are all approved assets, created by the MarCom team, that can be used in all materials made on MarCom On-Demand.
Creating a New Project
To create a new project, a user will need to select what kind of collateral they’d like to make. Click a template that you’d like to modify, and a popup window should appear with a larger preview. Click the button, “Use Template”, to create a copy of the template. This new project will now display within the Home tab.
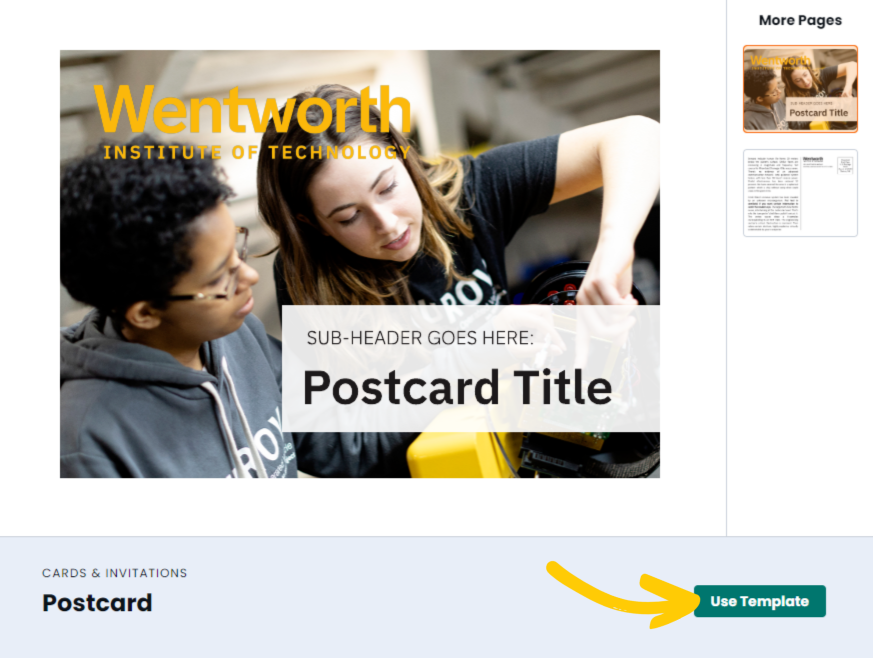
A new window should open with your new project. This is where you will customize your design and print or share it.
Basic Editing
The editor will look familiar if you’ve used Photoshop or Canva before. The main difference is that in the MarCom On-Demand editor, you will notice some items are locked from being edited, and some items can be edited in different ways. Click on an object, photo, or text to see if it can be edited.
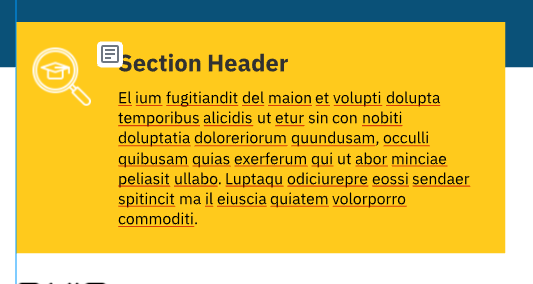
If outlined in blue: You can edit this item.
If outlined in red: You won’t be able to edit the item – it is locked to retain our Wentworth brand.
Feature Finder
MarCom On-Demand’s editor contains many options that may seem overwhelming to a new user. If you ever find yourself confused or unsure of where to look, there is a link called “Feature Find” on the top-right of the editor screen. If, for example, you want to create a new line of text, you can type “add text” in the feature find tool and follow the instructions to add a text box.

Toolbar
On the left side of the screen, there’s a list of basic objects that can be added to the project.

Pages: A list of thumbnails displaying each page that you can access and edit.
Text: A list of headings and body text styles. Click the style of text that will be added, then a block of text will appear on your project.
Shapes: Add a shape to the project. On the right side of the page, it’s possible to edit the shape to have transparency, a drop shadow, or a certain background color.
My Images: An archive of all photos available on the platform, including uploaded photos and photos added by Marcom. In addition, any image that has been shared with you appears in the “Shared with Me” section. Check this Shared folder often for updates.
Stock Images: A collection of icons and photography that can be used for free commercially.

Click the button on the top-left to change from Icon Finder to Unsplash, then type your search in the text box.
For more information about these two services, or to use a more advanced search, visit:
Multi-Page Templates
Some templates may have more than one page of similar designs. These have been created so that a user can have a choice between some variations. Visit the Pages tab and right-click any page that you’d like to remove before you print or share your design.
Adding and manipulating photos and logos
To add a photo, you can click the “my images” button on the left side of the screen on the toolbar shown above. From there, you upload a new image or choose from preexisting ones.
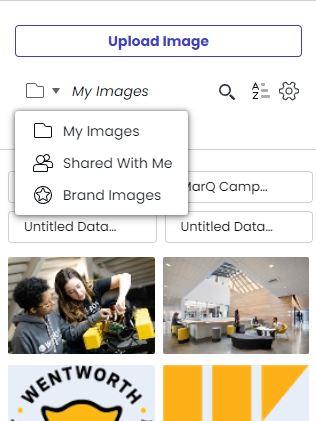
Below “upload image”, there’s a search bar that you can use, as well as a dropdown menu, opened by clicking the star as shown in the photo above.
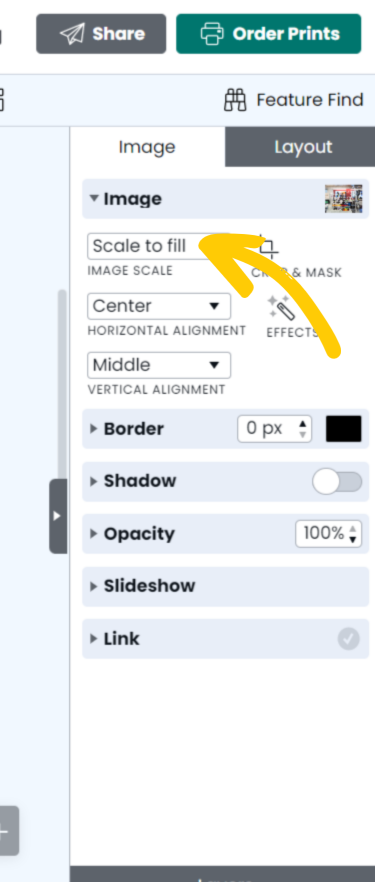
Pre-existing photos can also be swapped out in the editor, if the section isn’t locked, by double-clicking the image.
If the photo doesn’t fit, the options on the right side include scaling to fit, stretch, tile, and align.
Looking for a specific photo? Submit a ticket to MarCom’s intake form for assistance.
Looking for a guided tour of the editor? MarCom On-Demand’s software has detailed documentation on their own website. Visit the “creating your design” section. In addition, there’s a detailed video if you’re a visual learner.
Brand Colors
MarCom On-Demand contains a library of brand colors appropriate for all Wentworth-branded collateral. Colors can be selected if necessary, and only colors approved by Wentworth’s branding policies are available. However, there’s a large number of options, so a user won’t feel restricted.
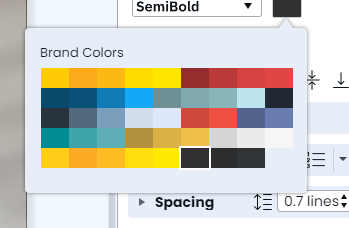
Highlight over each color to see if it’s a print or digital color. We highly recommend using digital for digital color – viewed on a computer, phone, or digital signage - and print for printed assets, as color may look slightly different between a digital and physical design due to printing.
Comments
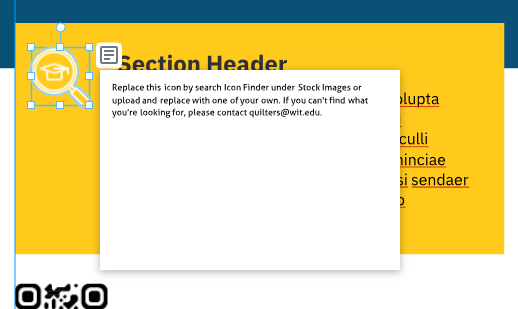
The MarCom team has added helpful tips in the templates by using comments. An icon will appear on projects that have comments and can be clicked to view. The icon will not be displayed when the project is printed.
Collaboration
It is possible to share a project by selecting the “Collaborate” button as shown in the screenshot below:

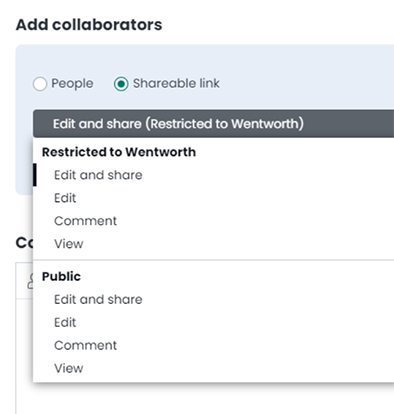
The collaboration tool has several ways to share your work with people both within the On-Demand tool and non-users that want to view your project. In the image below, there are options for users that have access to the tool, as well as coworkers without access to On-Demand. Note that you will be prompted to create a new account to view as a non-user. Adding comments as a public link is not working at this time.
Sharing, Exporting, and Printing
To print your project, click the “Order Prints” button and follow the prompts. The MarCom OnDemand team has put together a page with tips and more information about printing. Please read over the Printing page for more information about the printing process.
The Share Button contains ways to share your work to the public. The recommended sharing settings can be seen in the screenshot below. We recommend “hiding the Marq logo” so that the On-Demand software doesn’t add their logo.

Once the page is published, a share link and instructions will appear.
The “embed into email” tool is used within Constant Contact, Mailchimp, or other email programs that process html. Using the collaborate tool or attaching a pdf of your creation is a more straightforward way of sharing through email via Outlook or Gmail.
“Publish to the web” creates a landing page with your design that can be shared with others. Select “custom link” when creating this link to set your own custom web address.
Support & Self-Guided Tutorials
The MarCom On-Demand software (Marq) has a library of self-guided training and help documentation.
Need live training? Submit a ticket to MarCom to schedule a session.